New World: Mounts have been a highly anticipated feature

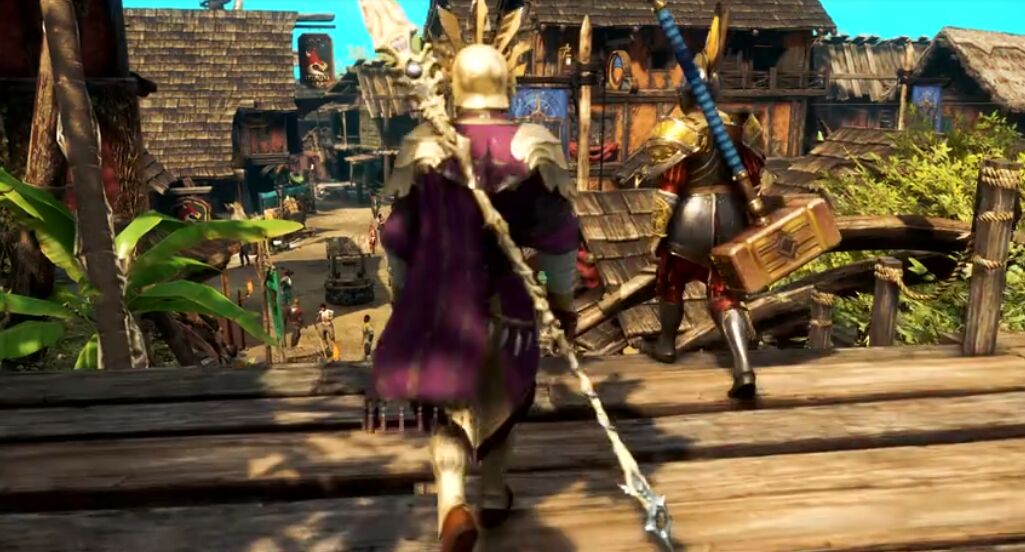
New World is introducing mounts as part of its upcoming Rise of the Angry Earth expansion, marking a significant addition to the game. In the latest Forged in Aeternum, the development team delves deeper into the details of these new forms of transportation in Aeternum.

Mounts have been a highly anticipated feature, and their inclusion in the game is the result of extensive community feedback and a year of development. Senior game designer Andy Manches sheds light on the year-long journey, beginning with his passion for locomotion in games. He emphasizes that the development process goes beyond merely facilitating travel from point A to point B.

Balancing the impact of mounts, especially in player-versus-environment (PvE) scenarios, was relatively straightforward. The goal was to prevent players from trivializing game content by using mounts to quickly bypass challenges. As a result, there are instances where enemies can dismount players based on specific factors.

For player-versus-player (PvP) situations, any hit from another player will dismount the target. The team even discusses potential strategies, like using a bow and arrow to dismount opponents during PvP encounters.

The addition of mounts is expected to enhance the player experience, allowing them to explore the game world more efficiently. Elements such as dash mechanics and on-screen effects contribute to the sensation of high-speed travel and rejuvenate the overall gameplay experience.

To determine a player’s mount speed, rather than attaching it as an inherent trait of the mount, the team opted to make it a property of the player character. This is achieved through the riding trade skill, which can be leveled up in various ways. Completing mount quests will be a crucial method for gaining riding XP, with quests offering diverse challenges such as reaching checkpoints, timed activities, exploration, and even racing.

Customization options for mounts include visual-only gear, in the form of skins. These can be applied to mounts, and there are also mount attachment items, like shields, which can receive trade skill-related skins. Players can personalize their mounts with a range of visual enhancements, with more skins planned for addition to the in-game store. Some skins may also be obtainable through PvP activities.

The team has exciting plans for additional mounts, including more elaborate and armored mounts available through the in-game store – get New World Gold Coins safe & quickly, as well as dyes to provide even more customization options for players to explore.

OSRS A Porcine of Interest Quest Guide

The “A Porcine of Interest” quest is an exciting adventure in Old School RuneScape (OSRS) that takes you on a journey to uncover the mysteries surrounding a headless beast. In this guide, we will provide you with a step-by-walkthrough to help you complete the quest successfully and reap the rewards it offers.

  1. Initiating the Quest
    To start the quest, make your way to the farmhouse located east of the Tree Gnome Stronghold. Inside the farmhouse, you will find Eli Bacon. Speak to him to begin your quest.
  2. Confronting the Headless Beast
    Your next objective is to head to the lair of the Headless Beast, which is situated in the eerie Haunted Woods. Prepare yourself for a battle and make your way there. Once you arrive, engage in combat with the fearsome creature and defeat it to progress further.
  3. Neilan’s Journal
    After your victorious battle with the Headless Beast, it’s time to gather more information. Travel to Taverley and make your way to Neilan’s house. Search the bookcase inside his house to find Neilan’s journal. This journal will provide you with valuable insights into the mysteries surrounding the headless beast.
  4. Meeting Gordon
    With Neilan’s journal in your possession, seek out Gordon, the previous owner of the Headless Beast. You can find Gordon in Taverley. Speak to him and discuss the journal and your recent encounter with the headless beast. Gordon will share his knowledge and shed light on the situation.
  5. Crafting the Fake Head
    To progress further in the quest, you’ll need to create a fake head. Start by obtaining a knife and a log. Use the knife on the log to craft the fake head. This item will play a crucial role later on.
  6. Mounting the Fake Head
    With the fake head in your possession, return to Gordon’s house in Taverley. Once inside, find a suitable spot to mount the fake head. This is important for the quest’s storyline progression.
  7. Completing the Quest
    After successfully mounting the fake head, make your way back to Eli Bacon in the farmhouse east of the Tree Gnome Stronghold. Speak to him and inform him about your progress with the headless beast. Eli will be pleased with your efforts, and the quest will be marked as complete.
  8. Reaping the Rewards
    Completing the “A Porcine of Interest” quest comes with several rewards. You will receive a generous amount of OSRS Gold, along with experience in both crafting and construction skills. Additionally, you will gain access to a tannery located in the Kebos Lowlands, which can be a valuable resource for future endeavors.

With this comprehensive guide, you should now have all the necessary information to embark on the “A Porcine of Interest” quest in OSRS. Follow the step-by-instructions, overcome the challenges, and uncover the secrets behind the headless beast. Good luck on your adventure!

Also, by the way, you can find more OSRS/RuneScape guides at RSorder!

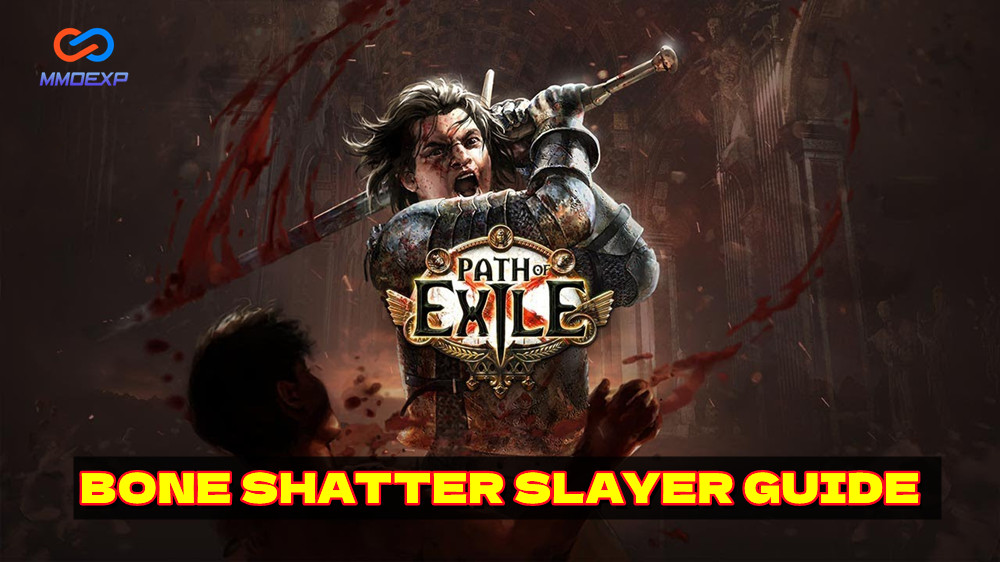
Path of Exile – Bone Shatter Slayer

Bone Shatter Slayer is a powerful and fast-paced melee build that is well-suited for both leveling and endgame content. It is particularly effective in the new 3.21 league, which has seen a number of buffs to both Bone Shatter and Slayer.

Build Overview

Bone Shatter Slayer is a melee damage build that focuses on stunning enemies with Bone Shatter. This skill deals more damage based on how many enemies are stunned, making it very effective against large groups of enemies. Slayer has a number of nodes that buff Bone Shatter, including increased damage, increased stun duration, and overleech.

Leveling

Leveling with Bone Shatter Slayer is relatively straightforward. You can start with any melee skill, such as Splitting Steel or Helix, and swap to Bone Shatter once you have access to the skill and a few key pieces of Path Of Exile Items.

Skill Gems

The core skill gems for Bone Shatter Slayer are:

  • Bone Shatter
  • Ruthless
  • Close Combat
  • Faster Attacks
  • Melee Physical Damage
  • Warlord’s Mark
  • Ancestral Cry
  • Leap Slam
  • Blood Rage

Ascendancy

The Slayer ascendancy is the best choice for Bone Shatter Slayer. The following nodes are particularly important:

  • Hatchet Master
  • Headsman
  • Brutal Fervor
  • Overleech

Gear

The most important piece of gear for Bone Shatter Slayer is a good axe. Axes have a higher base damage than other melee weapons, which is important for dealing damage with Bone Shatter. Other important items include:

  • A helmet with increased stun duration
  • A chestplate with life and resistance
  • Gloves with attack speed and accuracy
  • Boots with movement speed and resistance
  • A ring with life and mana leech

Gameplay

The basic gameplay loop for Bone Shatter Slayer is to stun enemies with Bone Shatter and then deal damage to them with your axe. You can use Warlord’s Mark to generate rage and Ancestral Cry to buff your damage. Leap Slam can be used to close the distance on enemies and to move around the battlefield quickly.

Tips

  • Bone Shatter can be used to stun bosses, but it is important to note that bosses have reduced stun duration.
  • Warlord’s Mark can be linked to Cast When Damage Taken to ensure that you always have the mark on enemies.
  • Ancestral Cry can be linked to Increased Duration to extend the duration of the buff.
  • Leap Slam can be linked to Fortify to reduce the damage you take from hits.

Conclusion

Bone Shatter Slayer is a powerful and fast-paced melee build that is well-suited for both leveling and endgame content. It is a great choice for players who are looking for a challenging and rewarding build.

For more guides and all the latest news about Path Of Exile, check out MMOexp. Enjoy cheap POE Currency for sale service here.

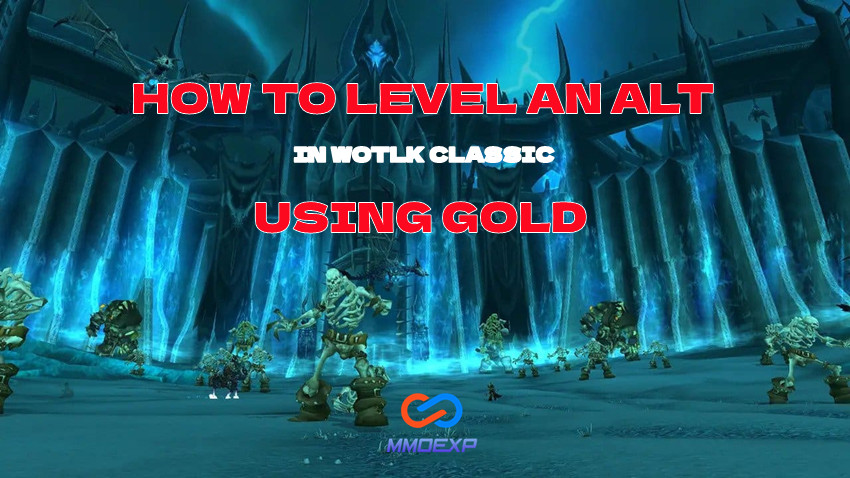
Guide WoW WoTLK Classic’s Trial of the Champion

One of the highlights of The Wrath of the Lich King Classic version is the release of Phase Three, which introduced the Trial of the Champion dungeon. This dungeon, located in the Argent Tournament Grounds, brings back the memories of the original Wrath of the Lich King expansion and offers an exciting challenge for level 80 characters.

In this comprehensive guide, we will walk you through everything you need to know to easily clear the Trial of the Champion on both normal and heroic difficulties. This article is sponsored by MMOexp. Thank you for following MMOexp. Buy Cheap WoW WoTLK Classic Gold from MMOexp. Helps improve your competitiveness. At the same time, you can also enjoy the lowest prices and excellent customer service.

The Unique Jousting Phase

Trial of the Champion sets itself apart by featuring a jousting phase, making it the only encounter in World of Warcraft to utilize this unique mechanic. The jousting system may appear daunting if you’re going in blind but fear not – even on heroic difficulty, it’s surprisingly easy. Before we dive into specifics, remember that both normal and heroic difficulties have identical mechanics, with the key difference being that the latter features tougher mobs and better loot drops.

To initiate the first encounter, you’ll need to speak to your faction’s respective roleplay NPC in the center of the arena. You’ll also require an Argent Jousting Mount, which you can find along the edges of the room, and a Jousting Lance, conveniently located near the wolves and horses.

During the jousting phase, you’ll face packs of three jousters. Defeating three of these packs is the key to unlocking the first boss encounter. These packs are split into different races, depending on whether you’re playing as Alliance or Horde. Importantly, the race and faction are purely visual differences and do not impact the gameplay.

As you engage these jousters, you can use specific abilities to keep your shield up (button 4), break enemy shields (buttons 2 and 3), and inflict damage when shields are down (button 1). It’s advisable to focus on one boss at a time after breaking their shields to ensure an efficient encounter. Additionally, if a boss gets too close to the arena’s edges, you can use your mount to trample them, resulting in a 15-second stun. Be cautious, though, as you can also be trampled if dismounted.

Upon defeating the third pack of jousters, the grand Champions, you’ll move on to the first boss encounter.

The Grand Champions

The first boss encounter consists of three bosses, and their mechanics are identical, irrespective of their race. You can prioritize killing them in any order. However, the tank should be cautious about its position, as the bosses may attempt to move to the room’s edges. If they succeed, they will respawn with reduced HP. To prevent this, you can trample them with your mount.

One boss, the Rogue (named Lana Stout Hammer for Alliance and Death Stalker Vasari for Horde), should be a top priority due to their stacking poison effect on the tank. Additionally, they drop a poison bottle, which creates hazardous ground patches that you should avoid.

The second priority should be the Shaman Healer (either a dreaming eye named Colossus or a tauren named Runock Wildmain), as they periodically cast Healing Wave. Interrupting this ability is crucial. If you face both the Rogue and the Healer in the same encounter, focus on interrupting the Healer while dealing with the Rogue.

The remaining three bosses – the Warrior, Hunter, and Mage – are less threatening and can be killed in any order. The Warrior occasionally uses Bladestorm and may throw a player across the room, the Hunter deals AoE damage, and the Mage casts Fireball and occasionally polymorphs a player for a brief duration.

After defeating these faction Champions, you can speak to your roleplay NPC and proceed to the next part of the dungeon.

Trash Packs and the Second Boss

The Trial of the Champion features three packs of trash mobs after you’ve spoken to your roleplay NPC and moved away from the large wooden door. Avoid standing too close to the door, as it will open and reveal the trash packs. Aggroing all of the trash at once typically results in a wipe.

The trash packs consist of three mob types: the Argent Priestess, the Argent Light Wielder, and the Argent Monk. The Priestess should be the top priority, as she has two dangerous abilities. She can attempt to mind control a player, which should be interrupted immediately. Mind control can complicate dealing with multiple packs, so it’s often safer to engage them one at a time. The Priestess also summons a Fountain of Light that heals nearby enemies, which should be swiftly killed.

The Light Wielders come next on the kill priority list. They occasionally cast Blazing Light, which should be interrupted but is not a severe threat. They also have a frontal cleave, so the tank should position them facing away from the group.

Argent Monks are the lowest priority. They hit the tank for light damage, and when they reach one HP, they gain Divine Shield and cast Final Meditation, slowing nearby players’ attack and movement speeds. Focus on killing them last.

Upon defeating all three trash packs, the second boss encounter begins. You will face either Eadric the Pure or Argent Confessor Paletress, depending on the encounter. Eadric the Pure is a relatively straightforward boss, while Argent Confessor Paletress presents a more challenging fight.

Eadric the Pure’s Abilities:

• Vengeance: A passive ability that occasionally causes critical strikes on the tank. This is not a significant threat.
• Radiance: During the cast, players should turn away to avoid damage and disorientation.
• Hammer of Justice: A stun ability used before casting Radiance. Dispel this to avoid damage, and you’ll gain an extra action button to throw the Hammer back at Eadric for damage.

This encounter is generally manageable, and even if you don’t dispel every stun, it’s not overly challenging.

Argent Confessor Paletress’s Abilities:

• Holy Smite and Holy Fire: These abilities deal considerable damage and can be interrupted. Focus on interrupting Holy Fire.
• Renew: Paletress occasionally casts Renew on herself, healing for a substantial amount over time. Remove it with purges or spell steals.
• Awaking Nightmare: A group-wide fear effect. Abilities like Tremor Totem can negate this fear. Use these abilities to counter Awaking Nightmare’s fear mechanic.

When Paletress reaches 50% health, she will summon a Memory of the Past, a large shadowy enemy with multiple possible forms. The specific form is just visual flavor and doesn’t affect gameplay. The Memory has three abilities: Shadow of the Past, Old Wounds, and Awaking Nightmare.

• Shadow of the Past: Applies a debuff to a random player, dealing damage and slowing their attack and casting speed. Dispel this debuff immediately.
• Old Wounds: An unavoidable damage over time effect that lasts for 12 seconds. Healers should keep an eye on affected players and spot-heal them as needed.
• Awaking Nightmare: A group-wide fear that cannot be interrupted, lasting for 4 seconds. Use abilities that negate fear to counter it.

Defeat the Memory of the Past to remove Paletress’s shield, then proceed to finish her off to end the encounter.

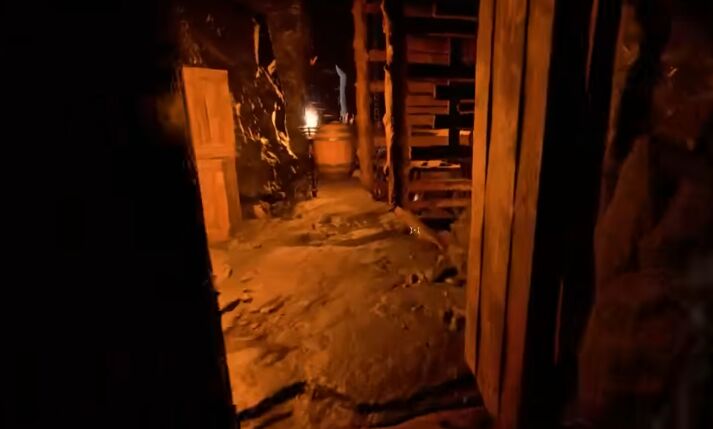
Dark and Darker is heavily reliant on statistics to a degree

While I’m hesitant to draw comparisons to Tarkov, as I’d rather see this game carve its own unique path, there’s a point to be made about the ability to take down a well-equipped adversary even with a subpar weapon in Tarkov. It’s certainly not effortless, but if you manage to seize the initiative and land precise shots, success is within reach. The sensation of achieving such feats is truly gratifying.

Contrastingly, Dark and Darker is heavily reliant on statistics to a degree that undermines this notion. Even if you execute flawless gameplay and possess lackluster gear, a skilled team outfitted with superior equipment can readily overpower you. The game’s emphasis on gear and team composition feels all-encompassing, which can make the early game exasperating, unlike Tarkov, where a well-aimed shot at a highly-equipped player can have the same result as with any other opponent.

One of the most infuriating moments I’ve experienced in a video game occurred when I believed I executed a nearly flawless 3v3 match in Dark and Darker, only to witness my team being obliterated. Upon spectating, it was evident that our opponents wielded an array of blue and purple gear, while we scarcely managed to make a dent in them.

While I lack the expertise to offer a solution, I can wholeheartedly affirm that the situation feels disheartening. I’ve nearly relinquished playing with friends, as unlike most other RPG dungeon crawlers where experimental builds can still be viable and entertaining, Dark and Darker’s competitive nature seems to limit team composition options to either meta choices, or a regrettable disadvantage.

The confines of Goblin Caves do permit some playful exploration, with the hope that others aren’t too fixated on a win. Recently, it’s where I’ve discovered most of my enjoyment. Yet, I yearn for the days when I could engage in lighthearted 3v3 matches with friends and still emerge victorious at times. It seems that a majority of encounters these days are against highly competitive players. It’s possible that the shift from free-to-play and the absence from Steam has influenced this dynamic.

The crux of the matter isn’t even the firearm; it’s the ammunition. Tarkov’s “leg meta,” as despised as it may be by geared players, exists for a reason. A new player can procure a budget kit and strategically target their opponents’ legs. While it might require more shots and present a greater risk of misses due to non-center mass targeting, it serves as an equalizer in that game.

In Tarkov, I can take down a well-equipped adversary either with a precise shot to the face using subpar ammunition or by methodically wearing down their legs. It’s undeniably more challenging for me to achieve success, but at the end of the day, this system provides an opportunity. In contrast, in Dark and Darker, even striking an opponent in the eye seems inconsequential if they are well-geared, as they can easily withstand the impact. So you also need a lot of Dark and Darker Gold to upgrade yourself and make yourself stronger, choose MMOexp.com to buy it. Happy gaming.